During the summer before my junior year of high school, I was a research intern at the Duan Lab in UCSF Ophthalmology Department. As part of my mentor’s research, I research finding genetic markers that could improve future treatments for glaucoma, a disease that results in eventual blindness. To read more about what my research internship experience was like, read Part 1 and Part 2 of my research internship series.
After I finished my research at UCSF, I wanted to take my learnings one step further by creating a research poster and submitting my work to a science fair competition. So, that is exactly what I did.
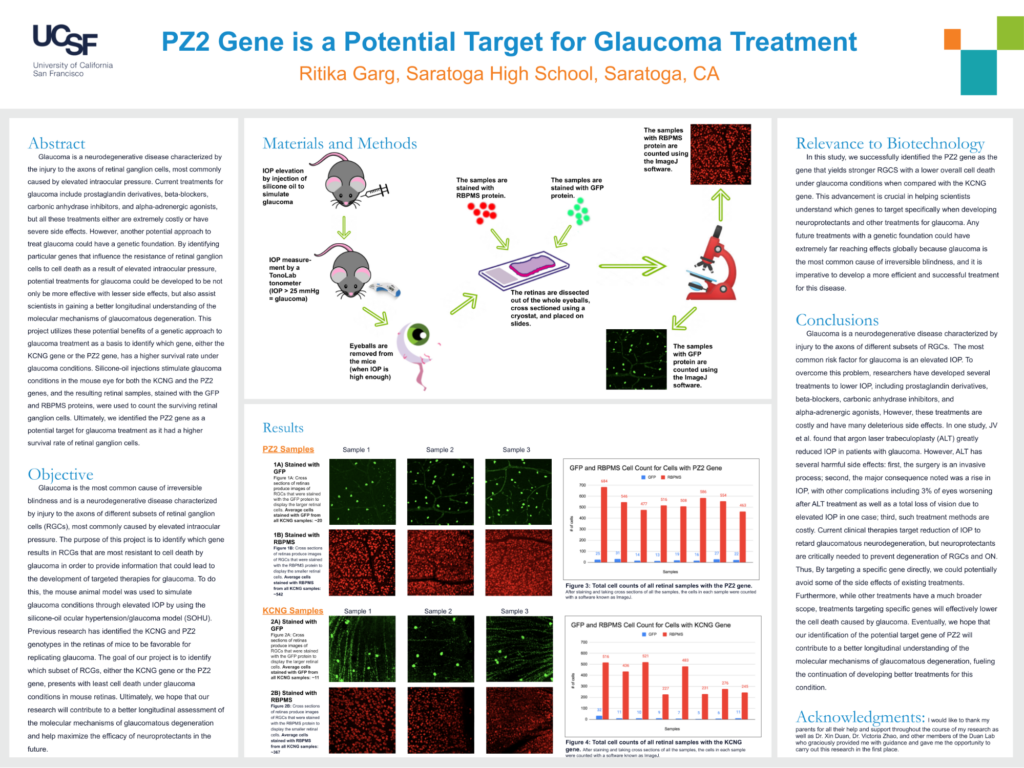
Since this was my first time making a research poster, it took me quite some time to figure out how to go about making a poster. Eventually, I figured it out, with some assistance from my mentor at UCSF. To make my poster, I first collected all my notes, papers, and information that I had learned throughout my internship. I also reached out to my mentor at UCSF to find the appropriate poster template used by researchers at UCSF. I preferred to use a pre-designed poster template rather than create the template myself as I thought it would be easier since this was my first time making a research poster. Then, it was time for me to start writing the information for my research poster, organized in different sections, such as Abstract, Introduction, Methods & Materials, Results, Discussion, and Conclusion. Instead of writing my sections directly on the poster template, I decided that it would be easier for me to edit and write if I started on a Google Doc. I approached the poster section by section: First, I tackled the introduction by referencing past research on glaucoma as well as treatments for glaucoma; I also presented why my research was novel and relevant. Next, I wrote the methods section, referencing the specific steps I completed throughout the various processes of my research. Then, I compiled data, images, and tables to make up my results section. Next, I wrote the discussion section, explaining the larger significance and implications of my results. Then, I wrote the conclusion, ending my entire research poster in a few short sentences. Finally, I wrote the abstract as it was easier for me to summarize my entire research poster after I had written all the different sections.
Once I was done writing the text for my research poster, it was time to transfer the information on to my UCSF research poster template that I had obtained from my mentor. To make the research poster more visually appealing and easier to follow, I decided to shorten several of my sections, replace the text of the Methods & Materials section with graphics instead, and unify the poster with an overarching color scheme. I also came up with a fitting title for my research poster that encompassed my research but also engaging and interesting to the reader.
After all my information was present on the poster, it was time for me to address the specific requirements of the science fair I was submitting my research poster to, which was the BioGENEius Challenge competition. This science fair required that there be a specific “Relevance to Biotechnology” section on my poster, so I added that section to my poster as well.
Finally, my poster was complete, and I submitted it to the competition. Unfortunately, my research poster did not qualify for any higher levels of the competition. However, regardless of the science fair competition, I learned immensely from the process of creating the research poster. Unlike many students my age, I am prepared to create such research posters in my future research in college. It was also intensely satisfying to see my research come together in a formal poster that I could submit to colleges as a science supplemental.
See my research poster below. If you would like to learn how to write your own research poster, visit the following article.
